Screen-space ambient occlusion [SSAO] and its siblings like Image-Space Horizon-Based AO [HBAO] are some of those techniques that I have a hard time loving. They can be great if done right, but really horrible when done wrong. Sadly, I have the feeling the latter is still the most common case in the games I get to play. Having been playing around building Helix whilst desperately trying not to fall into the same trap myself, I was hoping to make a post about my HBAO implementation. First, however, I’d like to write down a few things learned about using AO rather than implementing it, as a way to flex my fingers after such blog absence and – who knows – maybe convincing people so I’ll stop getting so annoyed! I won’t be talking code this time, so this post assumes you either have your own implementation already or you’re using a renderer that does.
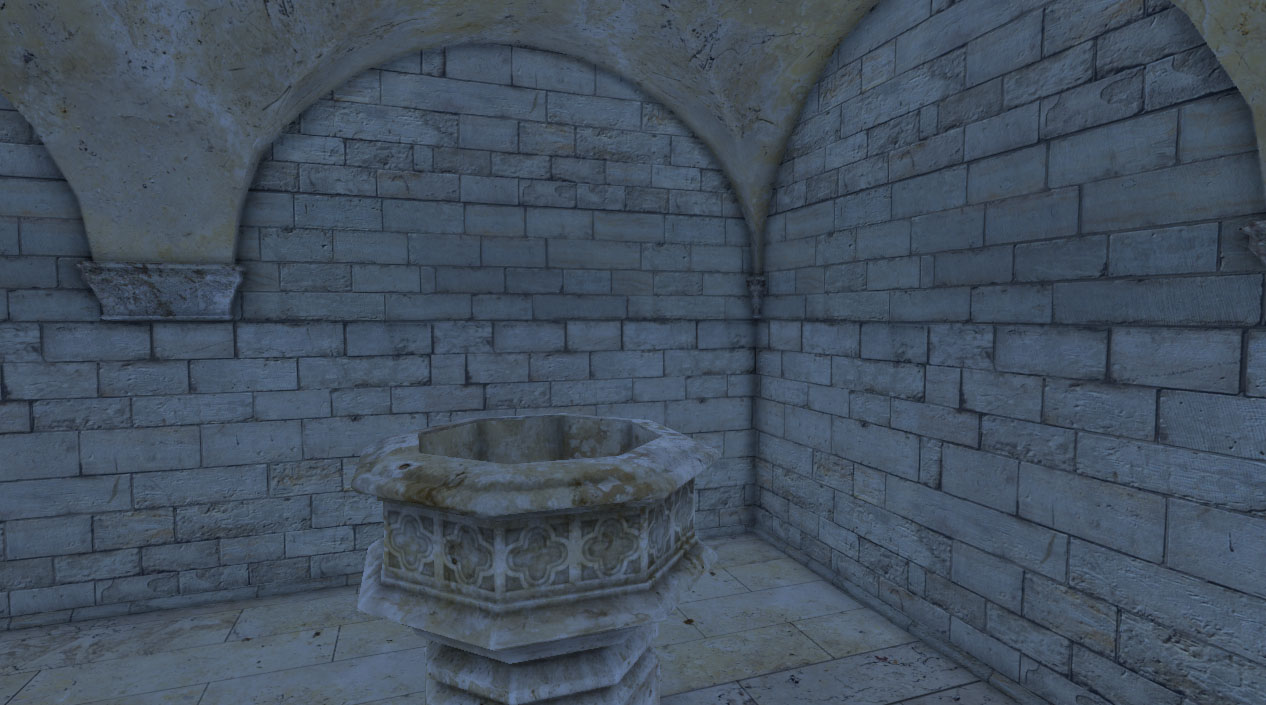
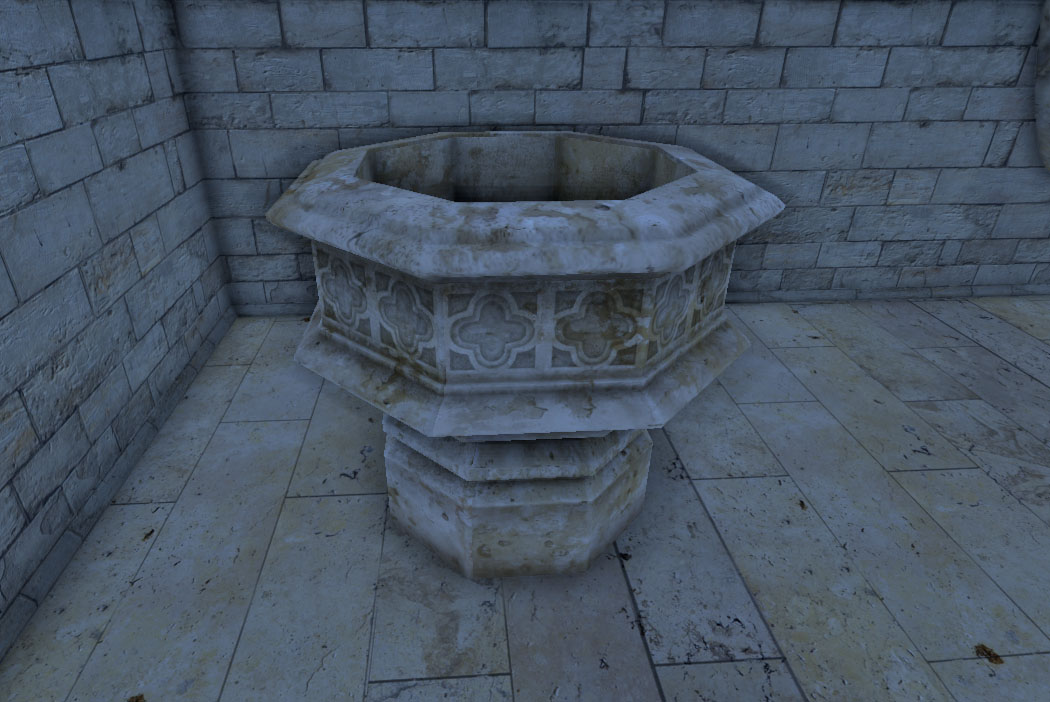
Screenshots are made in Helix (using HBAO) using Crytek’s Sponza model as modified by Morgan McGuire, found here.
Let’s set things straight…
In reality ambient occlusion does not exist. At least not in the way that it’s implemented. In reality, an infinite amount of ambient light rays approach the surface across the hemisphere surrounding it. Whether it will actually reach the surface depends on any occluders in the neighbourhood. This is not the same as grabbing the total colour of the incoming light – disregarding occlusion – and then multiplying it with an average occlusion factor.
To illustrate the problem at its most basic, imagine aiming a red and a blue spot light at the wall. The light reflecting off the wall is then of course purple. Place a box over the red light and the light on the wall will be blue. Makes sense, but if we’d simulate this with AO-like formula, the reflected light would simply be a darker purple! The example is using direct light instead of ambient, but the idea is the same (and the direct/ambient distinction is just a computer thing anyway ;) ). If your scene’s ambient contribution only consist of a single ambient colour, this point is moot but if you start using light probes it’s good to be aware of what AO really does.
So… What’s the beef?
There have been plenty of articles on SSAO dealing with the implementation details and the problems inherent from it operating in screen-space. I will skip over these as they are already well known.
My biggest problem with most SSAO-implementations are that they are too strong, have noticeable artefacts and are simply distracting. SSAO has been around for some time, but these things still bother me in new titles. See if any of this sounds familiar:
- Wall corners and ceilings have odd emphasized dark corners.
- Big darkening halos emanating from your game character
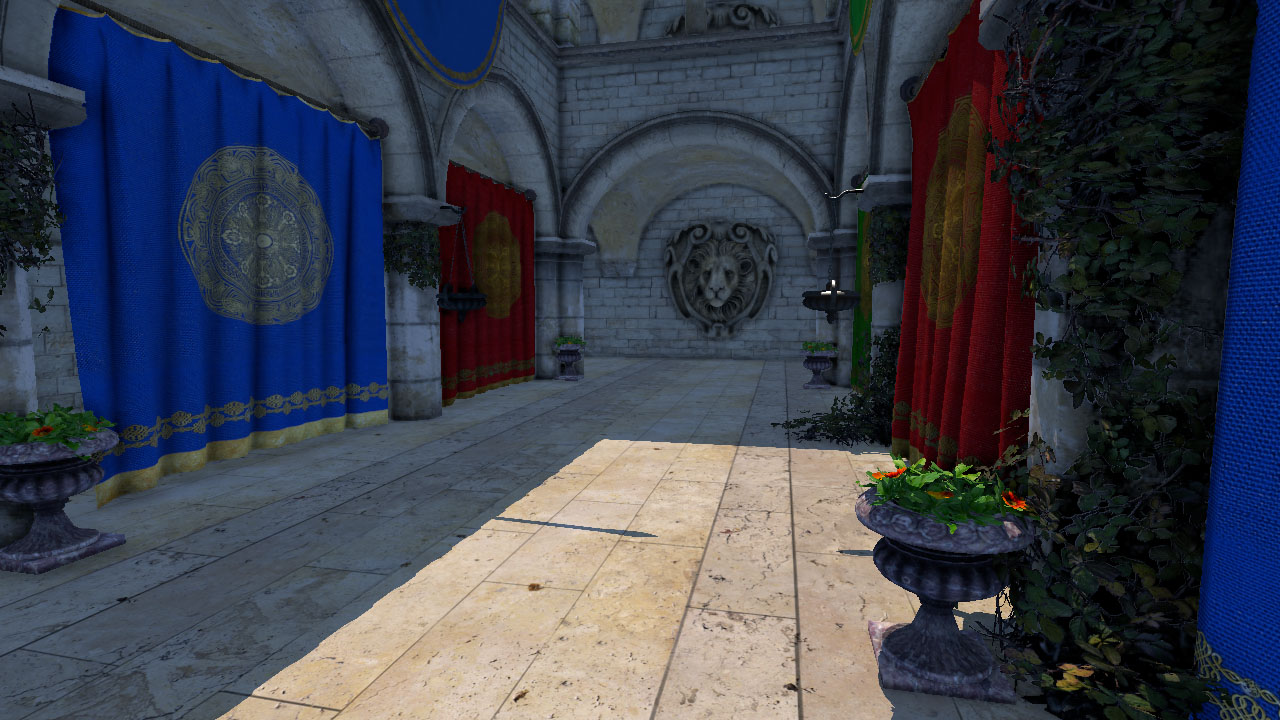
We tend to overdo things a bit…
In the image above, notice the dark outlining of the ceiling arch and the complete darkening of the column on the right despite being only half covered by leaves. There is also a strong halo around the vase and column on the left, so much that they affect the blue curtain much more than possible. If you think it’s perhaps not that bad, imagine the halos moving along with the camera orientation.
The temptation to make ambient occlusion really noticeable is understandable, because you might regret spending the rendering resources on an effect that’s very subtle, especially since it can a relatively expensive operation. Moreover, there is what I like to call the contrast bias. Once you’ve tried a stronger setting, the contrast in the image will increase. Going back to any lower setting will make the image look slightly washed out, even if it looked fine before. Perhaps, always make a judgement comparing to a render not containing any AO at all.
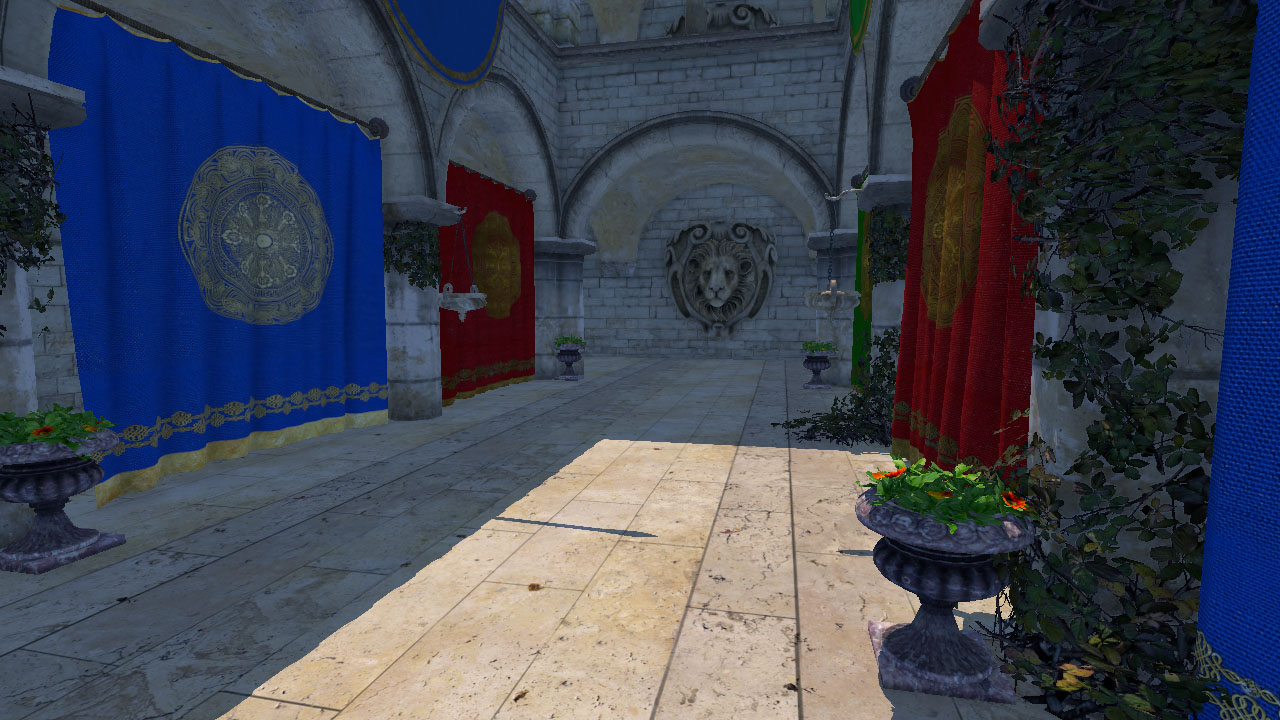
The same scene with a more realistic occlusion setup
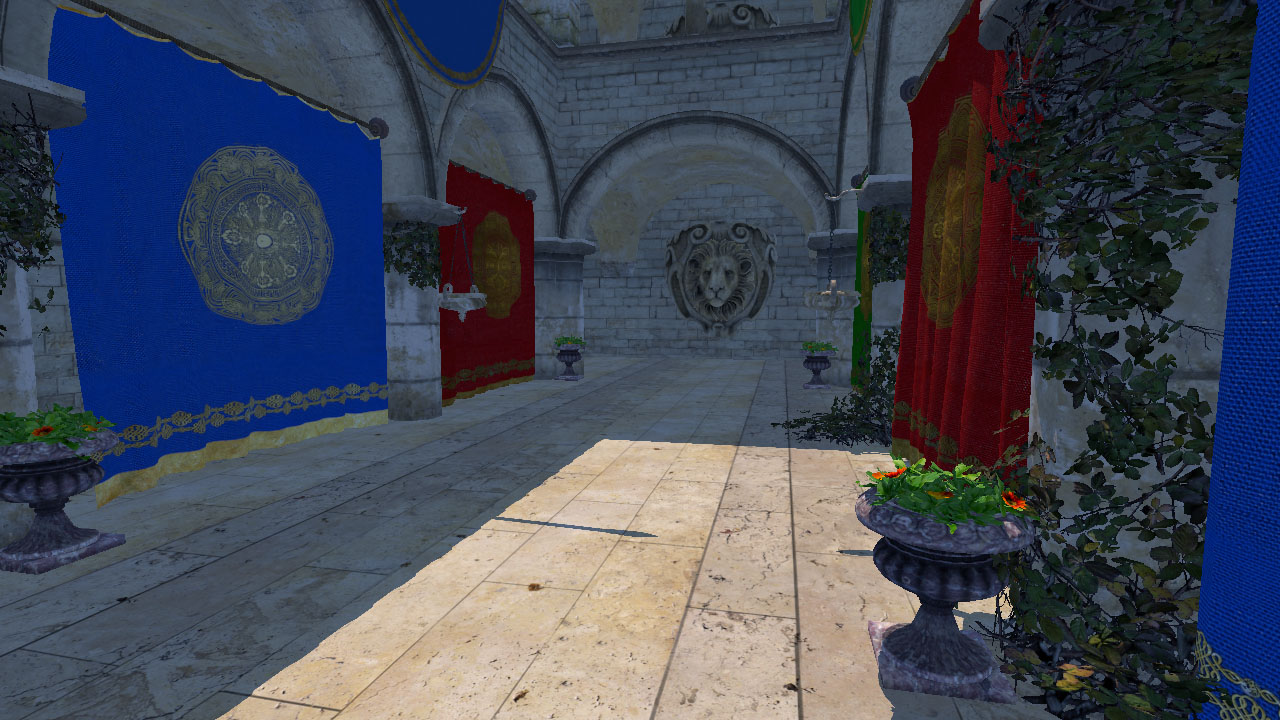
The previous example will look better again compared to this (no AO)
This would be the main point of this post, but I’ll mention the usual settings that one would be tempted to (ab)use to increase the strength.
Boosting the strength
The easiest way to make the occlusion more obvious is to simply increase the calculated occlusion, raising it to a power or multiplying it. What does this mean, however? By changing the value, we basically allow objects to occlude more than they should. For example: we see the walls at a 90 degree angle, but the shadows tell us the angle should be smaller. This makes it look very unnatural, so try to resist the temptation.
Overoccluded corners
Keep your distance!
A fall-off distance is often used to modulate occlusion based on distance. One option is to simply reject the sample if it is too far away; the sample’s occlusion is either 0 or 1 in that case. I like to think of it more as a continuous probability curve. The further away a sample is, the larger the chance that other light bounces in in some way. After some experimentation, I found that inverse squared falloff works great:
There is some experimentation involved with setting the correct fall-off distance, but setting it too low will not count enough occlusions, setting it too high will cause black halos, as below.
Fall-off distance too far
Look at the real world, and you’ll be hard pressed to see such precise occlusions over a similar distance.
Use it on the ambient lighting contribution only!
It’s been a while since I’ve seen this violated, but I’ll mention it anyway. If you use the calculated AO to modulate direct lighting, you’re changing the light intensity based on occluders that aren’t even between the surface and the light. This doesn’t make much sense; that’s what shadow maps are for!
In closing
As a final note, don’t just judge the result of AO by looking at the black-and-white occlusion map. It often tends to look better the least physically plausible it is.
I hope I’ve convinced you to be very careful with your ambient occlusion settings, so posts like this won’t be necessary anymore :)
Hopefully I’ll be able to detail a bit how I implemented the HBAO for Helix soon and even show some code but there’s still some tweaks I’d wish to do first.


Any chance of an Away3D example file? :)
@Peter: Nope, I’m not really involved with Away3D anymore apart from some ‘legacy consultancy’ in a rare occasion. This is running on Helix, my own playground (unoptimized) engine running on DirectX11.
That’s tragic news David.
Well thanks for your fantastic contribution over the years, it’s meant an awful lot, to an awful lot of people. (some of them not awful ;O)
Cheers!
I look forward to see where you go next…
Very sad news…
I have not been able to learn about basics of 3d programming without your great codes.
Thank you. And I believe that you will be a guru at other place!
Pingback: An alternative implementation for HBAO | Der Schmale - David Lenaerts's blog
Shoulda thrown this at Ubisoft Montreal before they pushed Far Cry 3 out the door :P
Sorry, but this code here is just wrong:
occlusion *= 1.0 – Pow(sampleDistance / fallOffDistance, 2.0);
It will lead to a negative occlusion value if sampleDistance is bigger than fallOffDistance.
Correct, this should be clamped to positive values (it actually happens in the code that generated the screenshots when accumulating to the total occlusions for all samples).